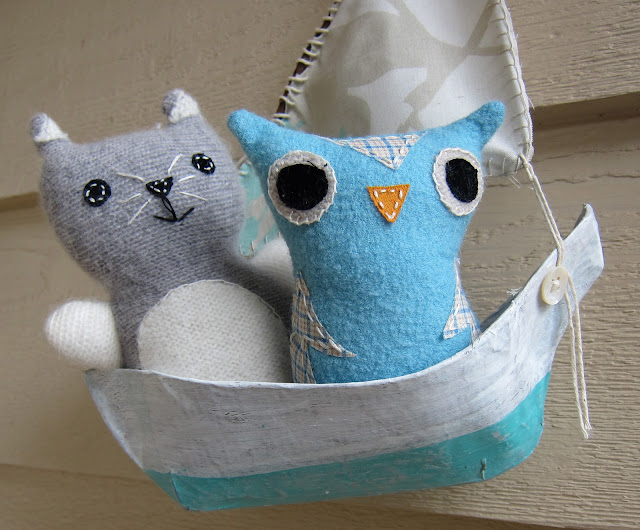
The wait is over for the owl and the pussycat. Their boat is in!
I got my craft on and actioned a paper mache boat from
some wonderful instructions from
Ann Wood. You can find the link
here. She has a link to a pdf for the hull pattern.
Here are the step by step instructions - look away now lest you get drawn in to the paper mache vortex!

Materials -
PVA glue mixed 4:1 with water
Strips of newspaper -The Age ( Melbourne )
Cereal box
sticky tape
paint brush
recycled food container with lid
acrylic paints
2 sticks from the garden (30cm and 25 cm)
fabric for sail
string
shell buttons
sharp embroidery needle
unpicker
Print
Ann Wood's template for the boat and trace it onto the cardboard. ( good old Kelloggs!) Cut around the outer shape.
Score the fold lines with a pizza cutter. Necessity is the mother of invention.
Using sticky tape join the edges of the cardboard to form the boat shape. Use plenty of tape so that the ship is sturdy. Cut a cardboard strip 2cm X 5cm, fold it into a triangle and wedge it in the boat slightly towards the stern. This is where the mast will be stuck.
Now its ready to get plastered! In paper and glue.
Set the boat aside in a sunny spot so the first layer can dry. Put the lid on the glue bowl so it doesn't thicken. Then do another layer. Allow to dry completely and then paint. I used acrylic paints and then when dry I sanded the surface gently to give a weathered look. I finished with an acrylic varnish and seal.
Cut a groove in the mast 5cm from the top and tie a shell button on using cooking string.
Next trace the outline for the sail by resting the yard sick in a triangle from the top of the mast to the stern.
Cut out the sail out of suitable fabric. Decorate with hand sewn patches or skull and crossbones!
Whipstich the sail to the yard.
Sew buttons onto the hull of the boat at the stern and at the back quarter. To put the holes in the hull I used the point of an unpicker.
Wind a length of string from each of the attachment points on the sail to the buttons.
Sail away owl and pussy cat.


